Electronics
Conversion of Lego® 9V Motor Bogie to DCC
1. Disassemble motor bogie by carefully prying off the bottom cover.
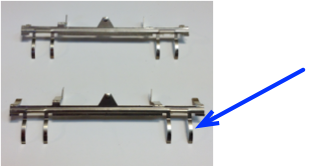
2. Carefully remove and clean the electrical pickup frames.

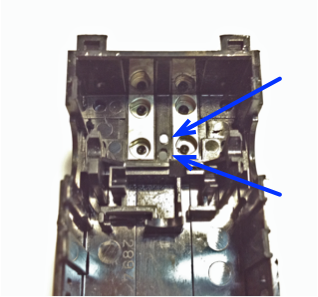
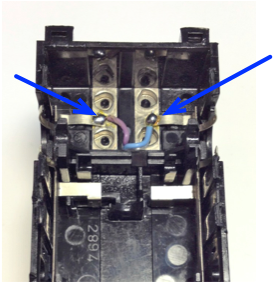
3. Drill two 1.5 mm holes for wiring.
4. Re-install pickup frames. Insert one wire pair through hole and solder to pickup frame tabs.
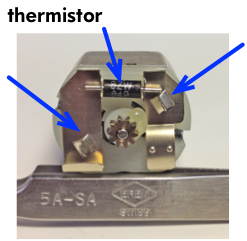
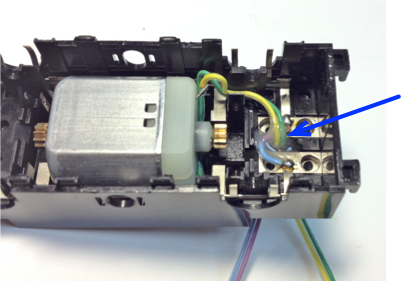
5. Carefully remove the thermistor and the metal tabs which slip over the motor feed tabs.
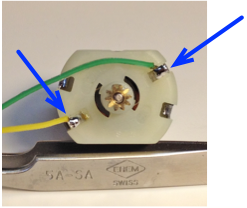
6. Solder two new feed wires to the motor feed tabs.
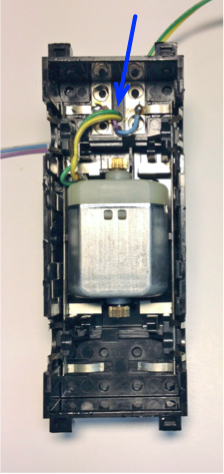
7. Carefully re-install motor back into the case and route the wires away from axle and wheel bearings. Pass wires through second hole.
8. Secure the wiring with some 2-part epoxy resin and allow to cure.
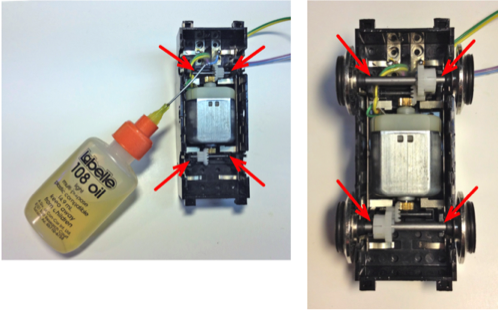
9. Re-insert reducing gears/axles and apply a sparing amount of light plastic-safe lubricating oil where indicated.
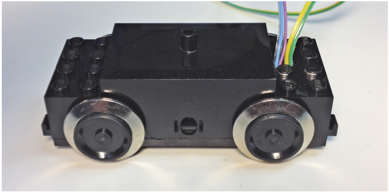
10. Re-attach bottom cover and ensure that it snaps securely in place.